
[nest.js + next.js] 가계부 만들기 1 - nest.js + next.js설치
RELATED POSTS
nest.js + next.js 가계부 만들기
- 1. nest.js + next.js installation
- 2. antd 설치 및 레이아웃 커스터마이징
- 3. typeorm 설치와 mariaDB(mysql) 연동
- 4. swagger 설치와 간단한 crud api 개발
- 5. nest-next 패키지로 서버 통합하기
프로젝트 개요
프로젝트 이름은 housekeeping-book입니다. 이 프로젝트에서는
- OAUTH 2.0(OIDC)을 적용한 카카오 로그인
- nest-next 환경에서 서버와 프론트간에 어떻게 데이터를 주고받는지 실습
- next 프론트에서 어떻게 state관리를 하는지 실습
- typeORM, antD, swagger, mariaDB 연동 실습 정도를 해보려고 합니다.
초기세팅
프로젝트를 하다 보면 여러 언어와 프레임워크를 접하게 됩니다. 저도 파이썬, 자바, 자바스크립트, PHP등을 업무에 써보았는데요, 이렇게 다양한 언어를 사용하다보면 쓰임새에 혼동이 오는 경우가 종종 있습니다. nest+next의 장점은 프론트와 백에서 같은 언어를 사용할 수 있다는 것이고, 요새 각광받는 Typescript를 적용할 수 있고, nest-next 패키지를 통해 서버 통합이 가능하다는 것입니다.
저는 여기를 참고하여 세팅하였습니다. 이 블로그에서는 이름 구별을 하기 위해 nest.js는 그대로 쓰고, next.js는 대문자로 NEXT.js라고 쓰고 있는데요, 저도 이 방식대로 적겠습니다. NEXT.js는 프론트 프레임워크이고, nest.js는 백엔드입니다.
1. nest.js installation
먼저 nest.js를 설치해보겠습니다. visual studio code를 켜고, file -> new window로 새 창을 켜줍니다. 그리고 터미널 창(command prompt)을 열어줍니다.
아래는 nest프로젝트 설치를 위한 명령어입니다.
$ npm i -g @nestjs/cli
그리고, 다음의 명령어를 통해 새로운 가계부 프로젝트를 만들어 보겠습니다.
$ nest new housekeeping-book
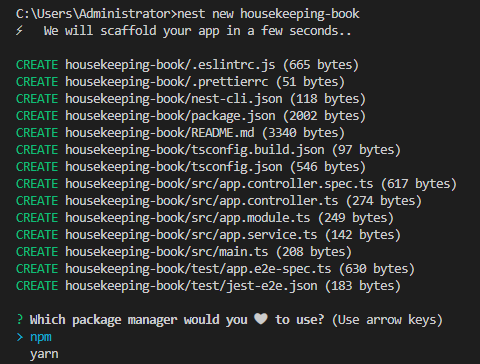
그럼 패키지 매니저를 고르는 옵션이 뜨는데, 저는 yarn을 선택하였습니다. 자, 어쨌든 위의 명령어를 작성하고 잘 실행되었다면, 자동으로 폴더들이 만들어질 것입니다.
$ cd housekeeping-book //housekeeping-book 폴더로 이동해서,
$ yarn start:dev // 프로젝트를 실행해봅시다.
혹시 여기서 yarn 관련 오류가 발생하신다면,
여기(stackoverflow))를 보고 수정해주세요.
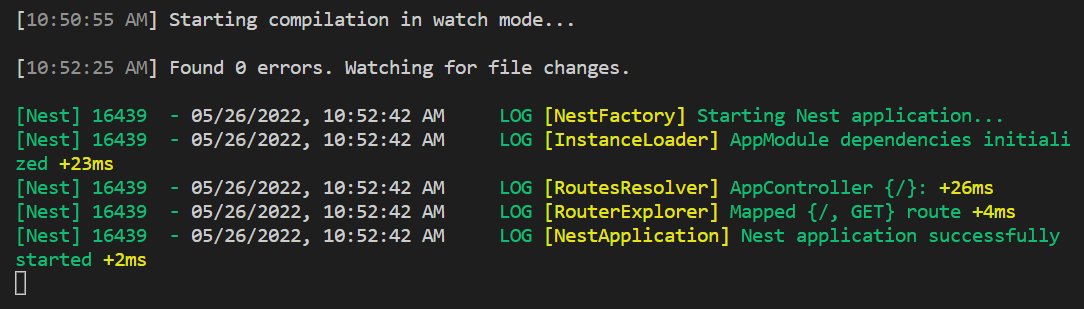
위와 같이 실행되고, 브라우저에 localhost:3000을 입력하면 아래와 같이 나옵니다.
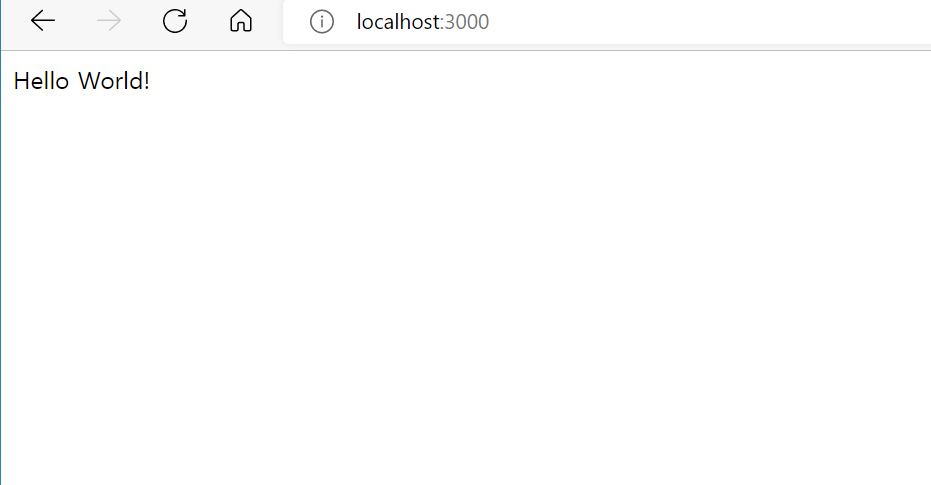
nestjs 세팅이 완료되었습니다! 짝짝
2.NEXT.js installation
이번엔 프론트에 해당하는 NEXT.js를 설치할 차례입니다. 여기부터는 vscode에서 만들어진 housekeeping-book폴더를 열고 해보겠습니다.
주의! 아래의 명령어는 housekeeping-book에서 실행하셔야 합니다!
$ yarn add next react react-dom
$ yarn add -D @types/react @types/react-dom eslint-config-next typescript
위와 같이 각종 패키지들을 설치한 뒤,
$ yarn next dev
로 NEXT.js를 실행해봅시다. 아마 다음과 같은 에러가 뜰 것입니다.

pages 폴더를 root폴더에 생성해 줍니다. 그리고 다시 $ yarn next dev하면 이번엔 문제 없이 실행이 완료됩니다.
실행하고 나면 next-env.d.ts라는 파일과 .next 폴더가 새로 생깁니다.
여기까지 잘 하셨나요?ㅎㅎ 그럼 tsconfig.json을 조금 수정해보겠습니다. 아래 exclude에 몇가지를 추가해줍니다.
// ./tsconfig.json
{
  "exclude": [
    "node_modules", "test", "dist", "**/*spec.ts"
  ]
}
그리고 tsconfig.build.json을 tsconfig.server.json으로 바꿔줍니다. nest.js만을 위한 config파일을 만들기 위함입니다. 그리고 내용을 이렇게 변경해주겠습니다.
// ./tsconfig.server.json
{
  "extends": "./tsconfig.json",
  "compilerOptions": {
      "noEmit": false
  },
  "include": [
        "./src/**/*.ts",
        "./src/**/**/*.ts",
      "./@types/**/*.d.ts"
  ],
  "exclude": ["node_modules", "test", "dist", "**/*spec.ts", ".next"]
}
package.json도 이렇게 변경해줍니다.
// ./package.json
"scripts": {
    "prebuild": "rimraf dist",
    "build": "yarn build:next && yarn build:nest",
    "build:next": "next build --no-lint",
    "build:nest": "nest build --path ./tsconfig.server.json",
    "start": "node ./dist/server/main.js",
    "start:next": "next dev",
    "start:dev": "nest start --path ./tsconfig.server.json --watch",
    "start:debug": "nest start --path ./tsconfig.server.json --debug --watch",
    "start:prod": "node dist/main",
    // ... lint/format/test etc
},
마지막으로 nest-cli.json도 이렇게 변경해줍니다.
//./nest-cli.json
{
  "$schema": "https://json.schemastore.org/nest-cli",
  "collection": "@nestjs/schematics",
  "sourceRoot": "src",
  "entryFile": "main"
}
이제 frontend의 기본 구성을 할 차례입니다.
인덱스 파일과 app 컴포넌트를 pages에 저장해줄 것입니다. 소스는 다음과 같습니다.
_app.tsx
// ./pages/_app.tsx
import type { AppProps /*, AppContext */ } from 'next/app'


function App({ Component, pageProps }: AppProps) {
   return <Component {...pageProps} />;
}

export default App;
_document.tsx
// ./pages/_document.tsx
import Document, { Html, Head, Main, NextScript } from "next/document";

export default class MyDocument extends Document {
    render() {
        return (
            <Html>
                <Head>
                </Head>
                <body>
                <Main />
                </body>
                <NextScript />
            </Html>
        );
    }
}
index.tsx
// ./pages/index.tsx
import { FC } from 'react';

const Home: FC = () => {
    return <h1>Home</h1>;
};

export default Home;
그리고 gitignore에
# compiled output
/dist
/node_modules
/.next
이렇게 next를 추가해주세요. 그래야 깃에 .next파일이 올라가지 않습니다.
이제
$ yarn start:next 를 실행해주면
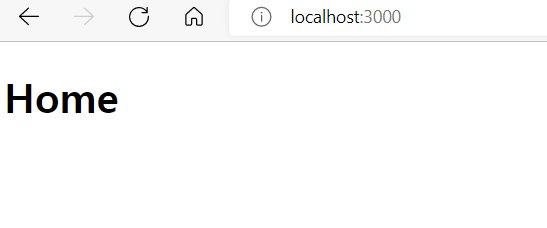
이렇게 3000포트 위로 NEXT가 뜨게 됩니다. next 설정까지 완성하였습니다!^^
Comments