[springboot + next.js] springboot project for beginners - 1. Creating springboot project
RELATED POSTS
[springboot + next.js] springboot project for beginners
Creating springboot project
1. Install STS(Spring Tools 4)
Here’s the link you can download Spring Tools 4 with. -> spring.io
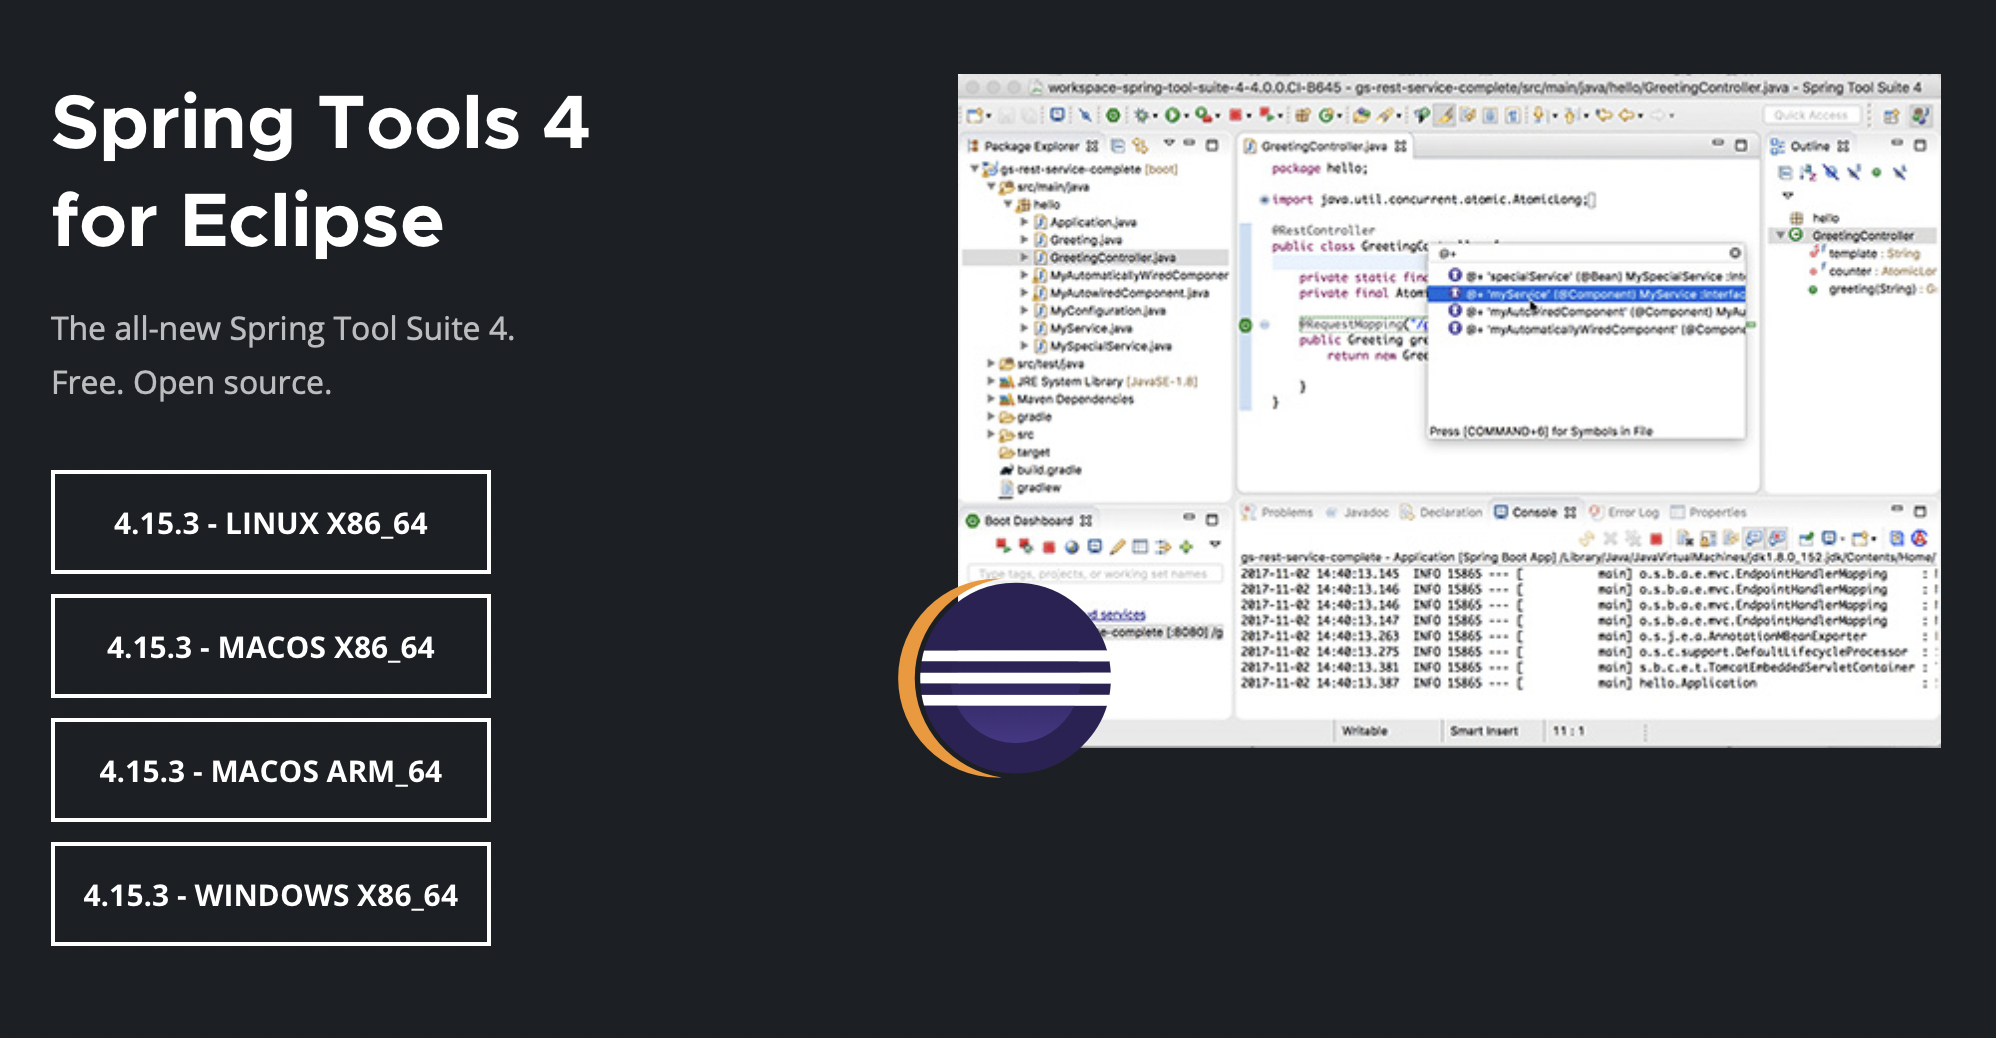
We’re going to user Eclipse for this project.
I’d like you to install STS for Eclipse for your OS.
2. Install JDK
This is for JDK Installation -> JDK installation
I also installed it like this.
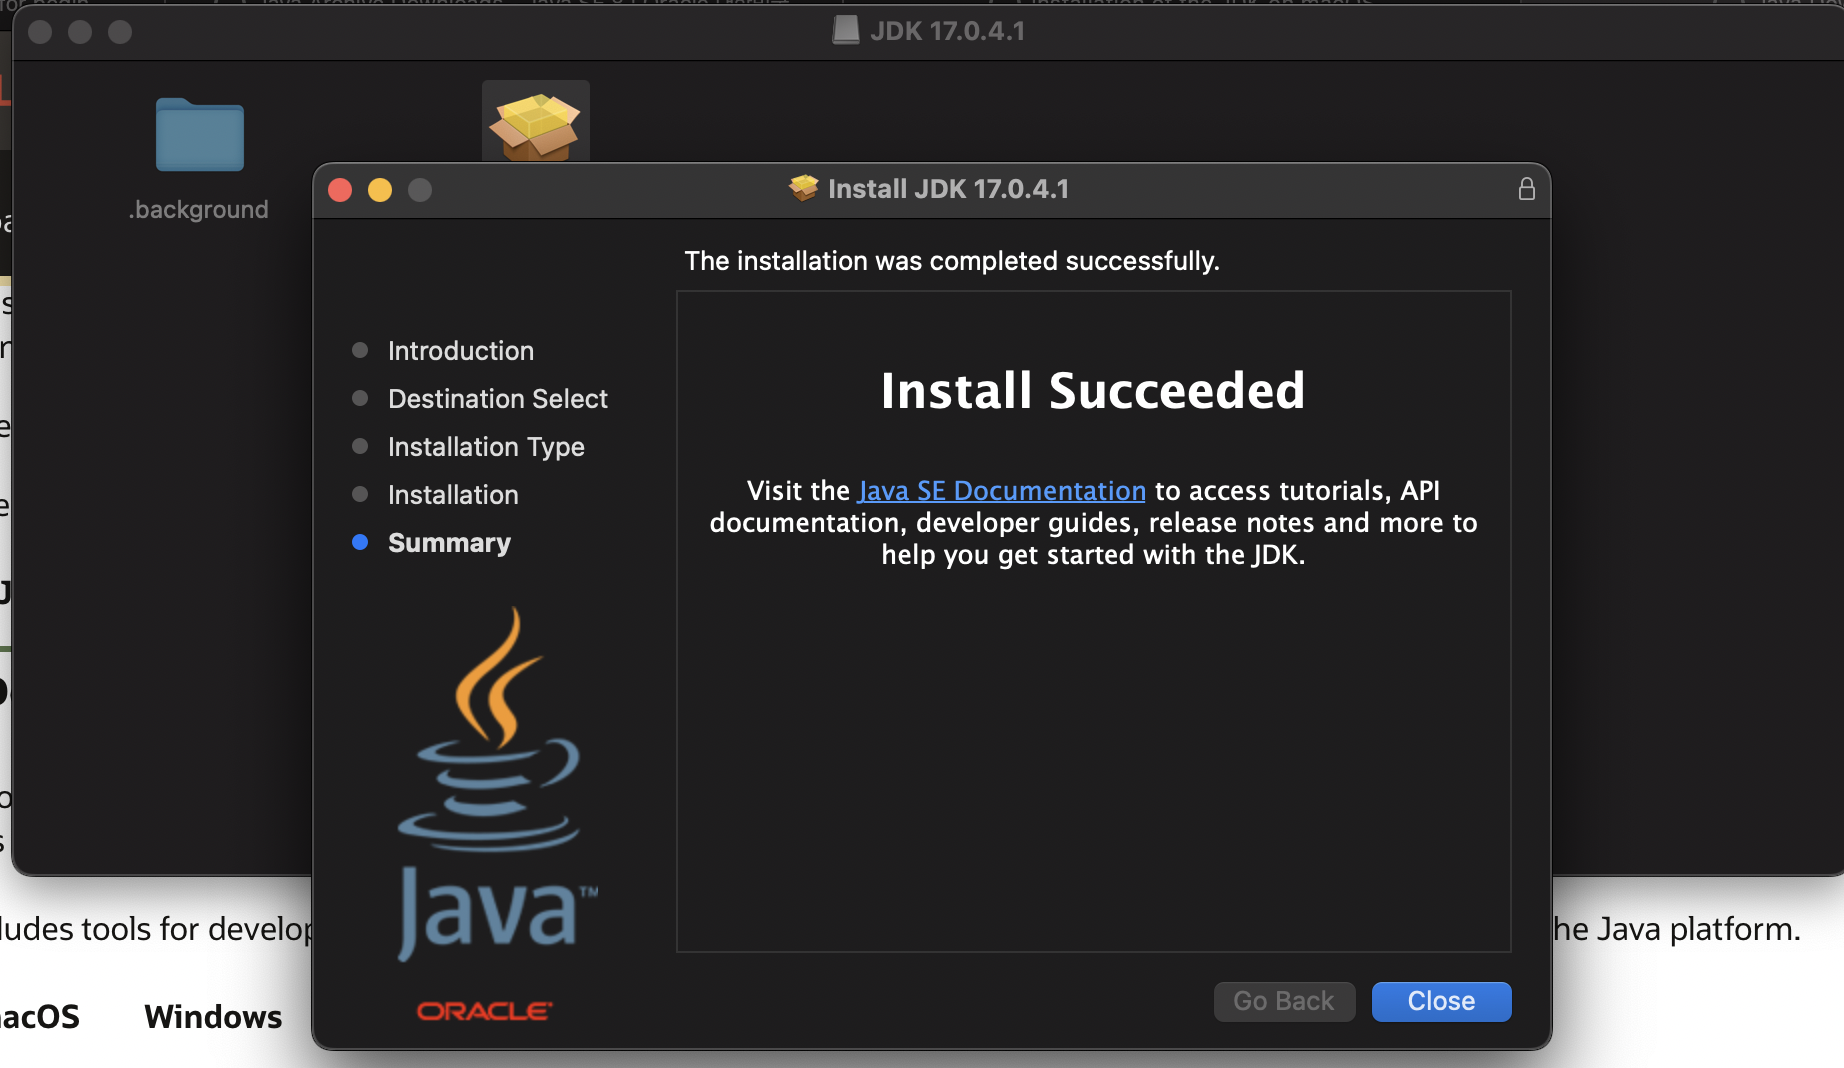
if you’re confused, check out this installation guide. -> JDK installation Guide
3. Start a new project
3-1. initial settings
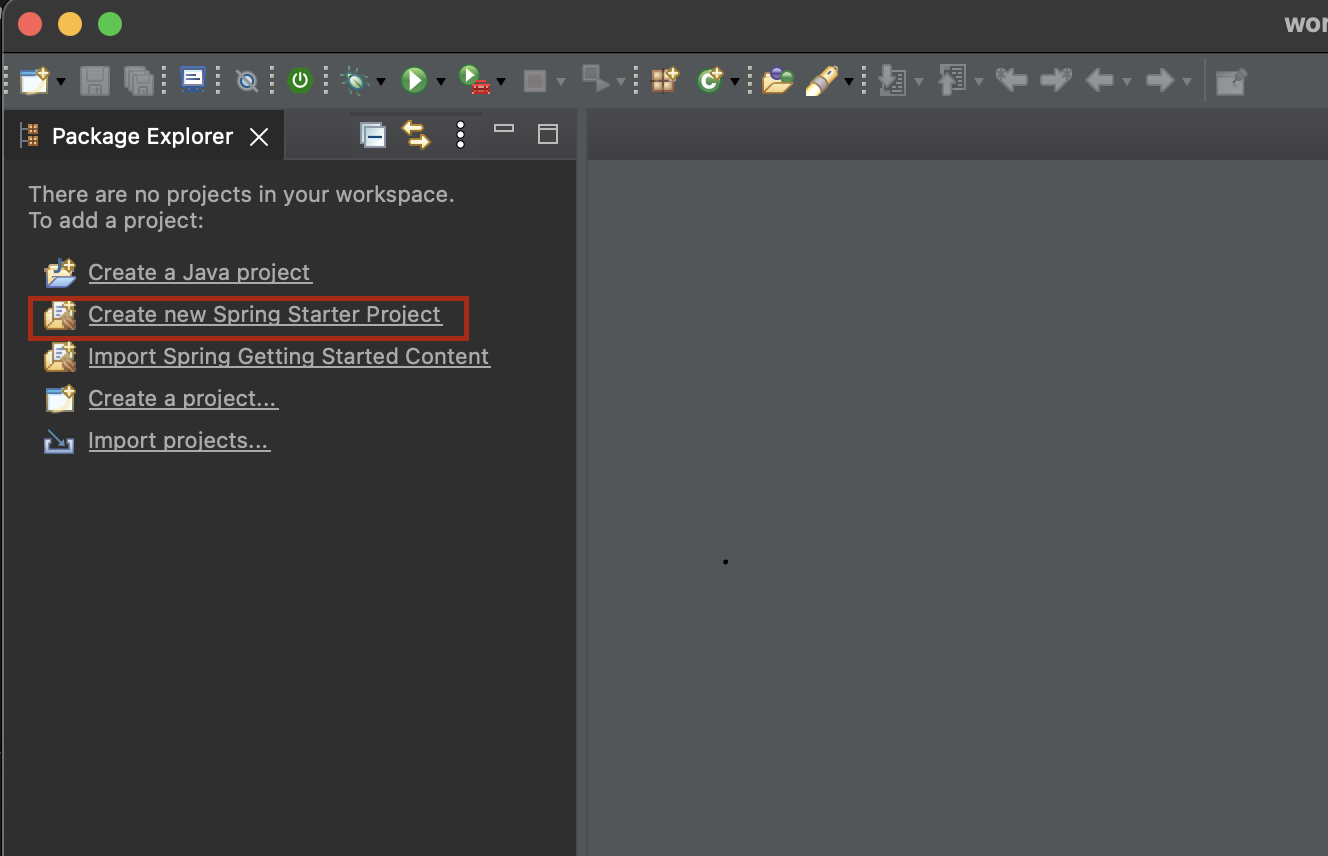
click “Create a new Spring Starter Project” and follow the next steps below.
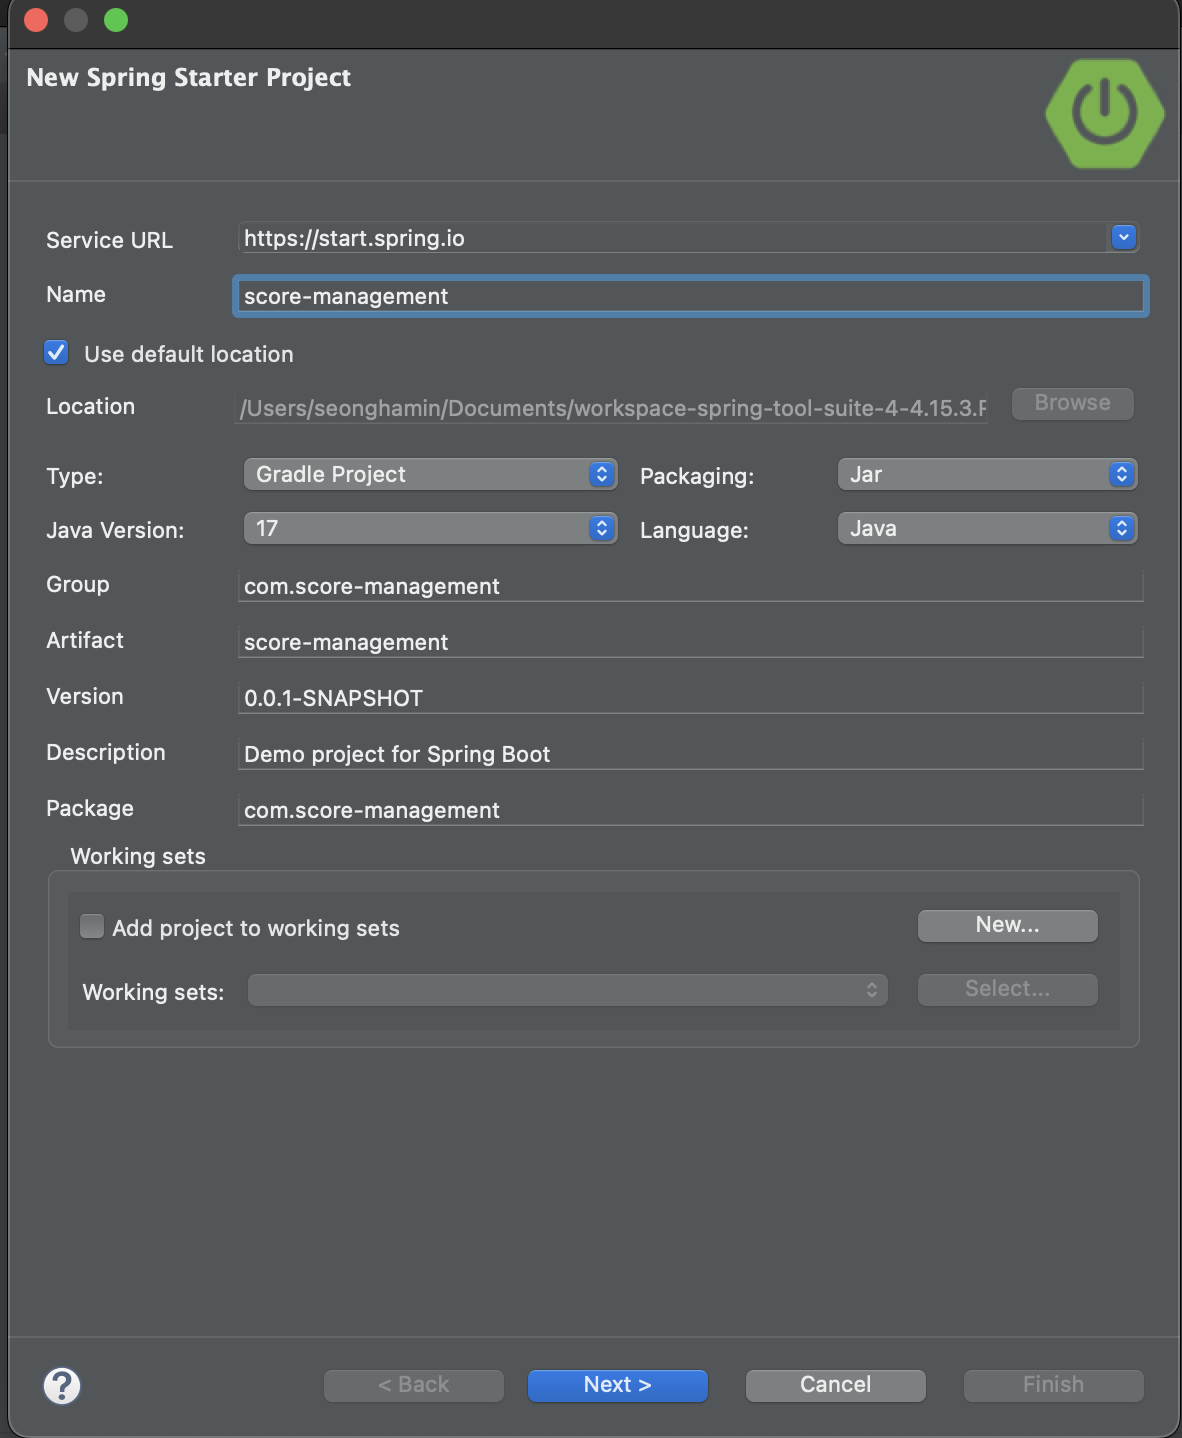
The screenshot below illustrates the settings. I recommend that you type as I did.
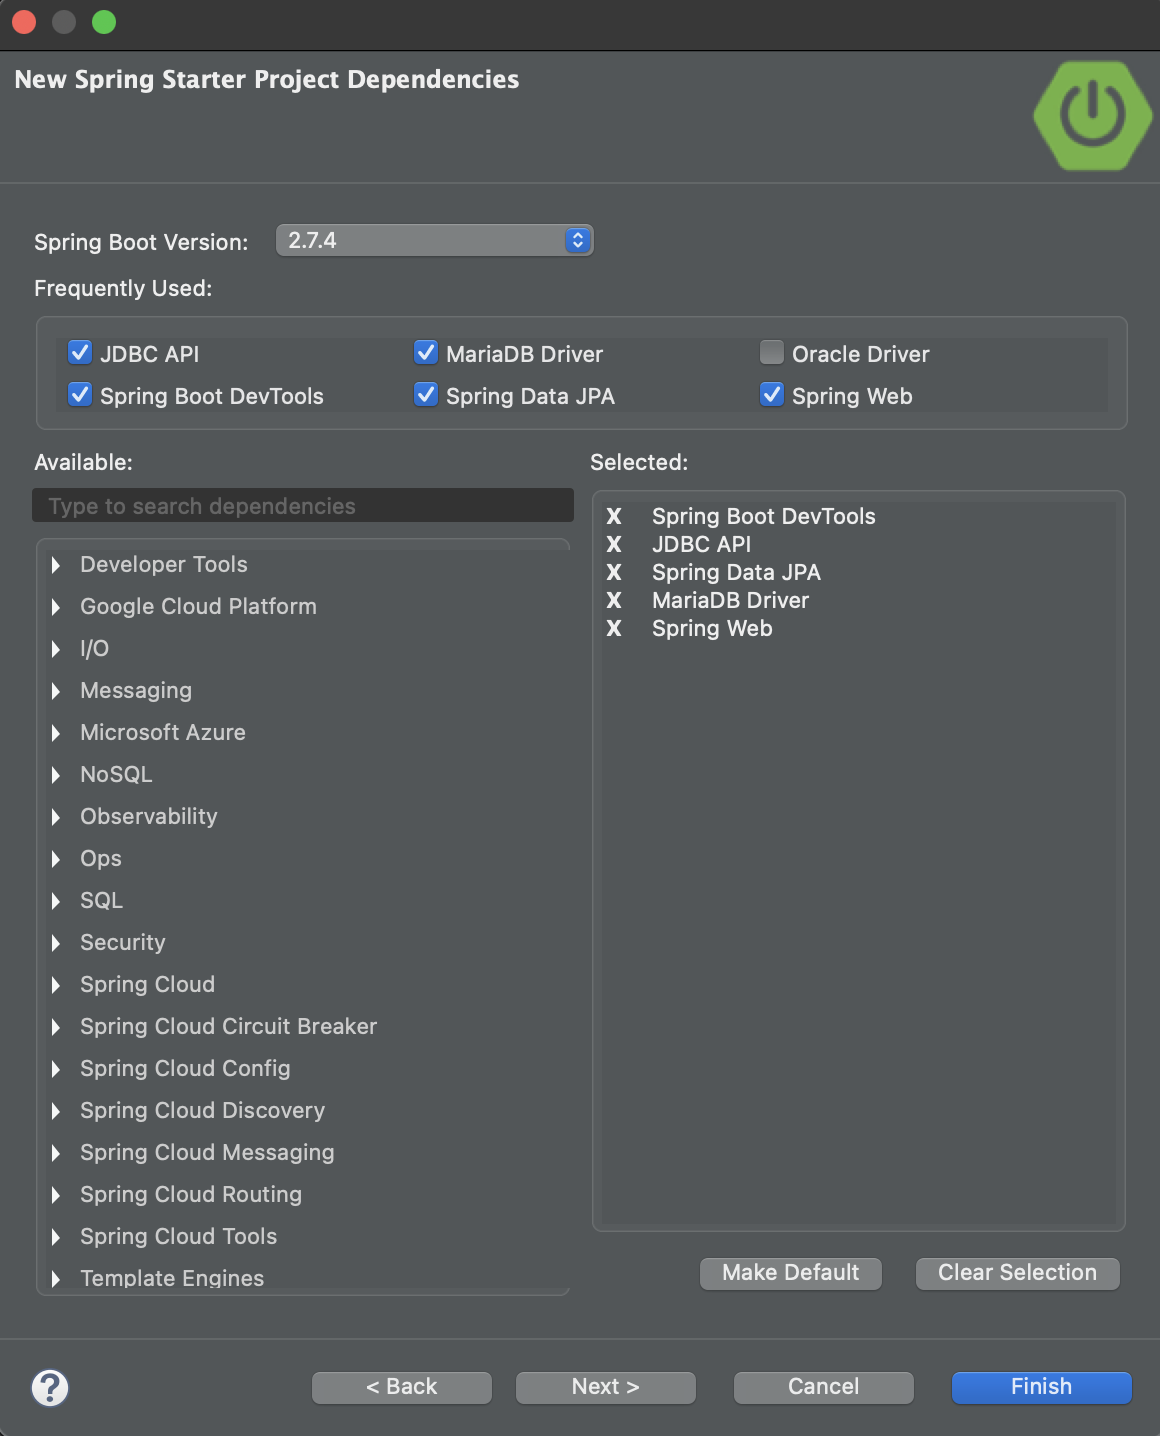
3-2. Add dependencies
Add dependencies like this and finish.
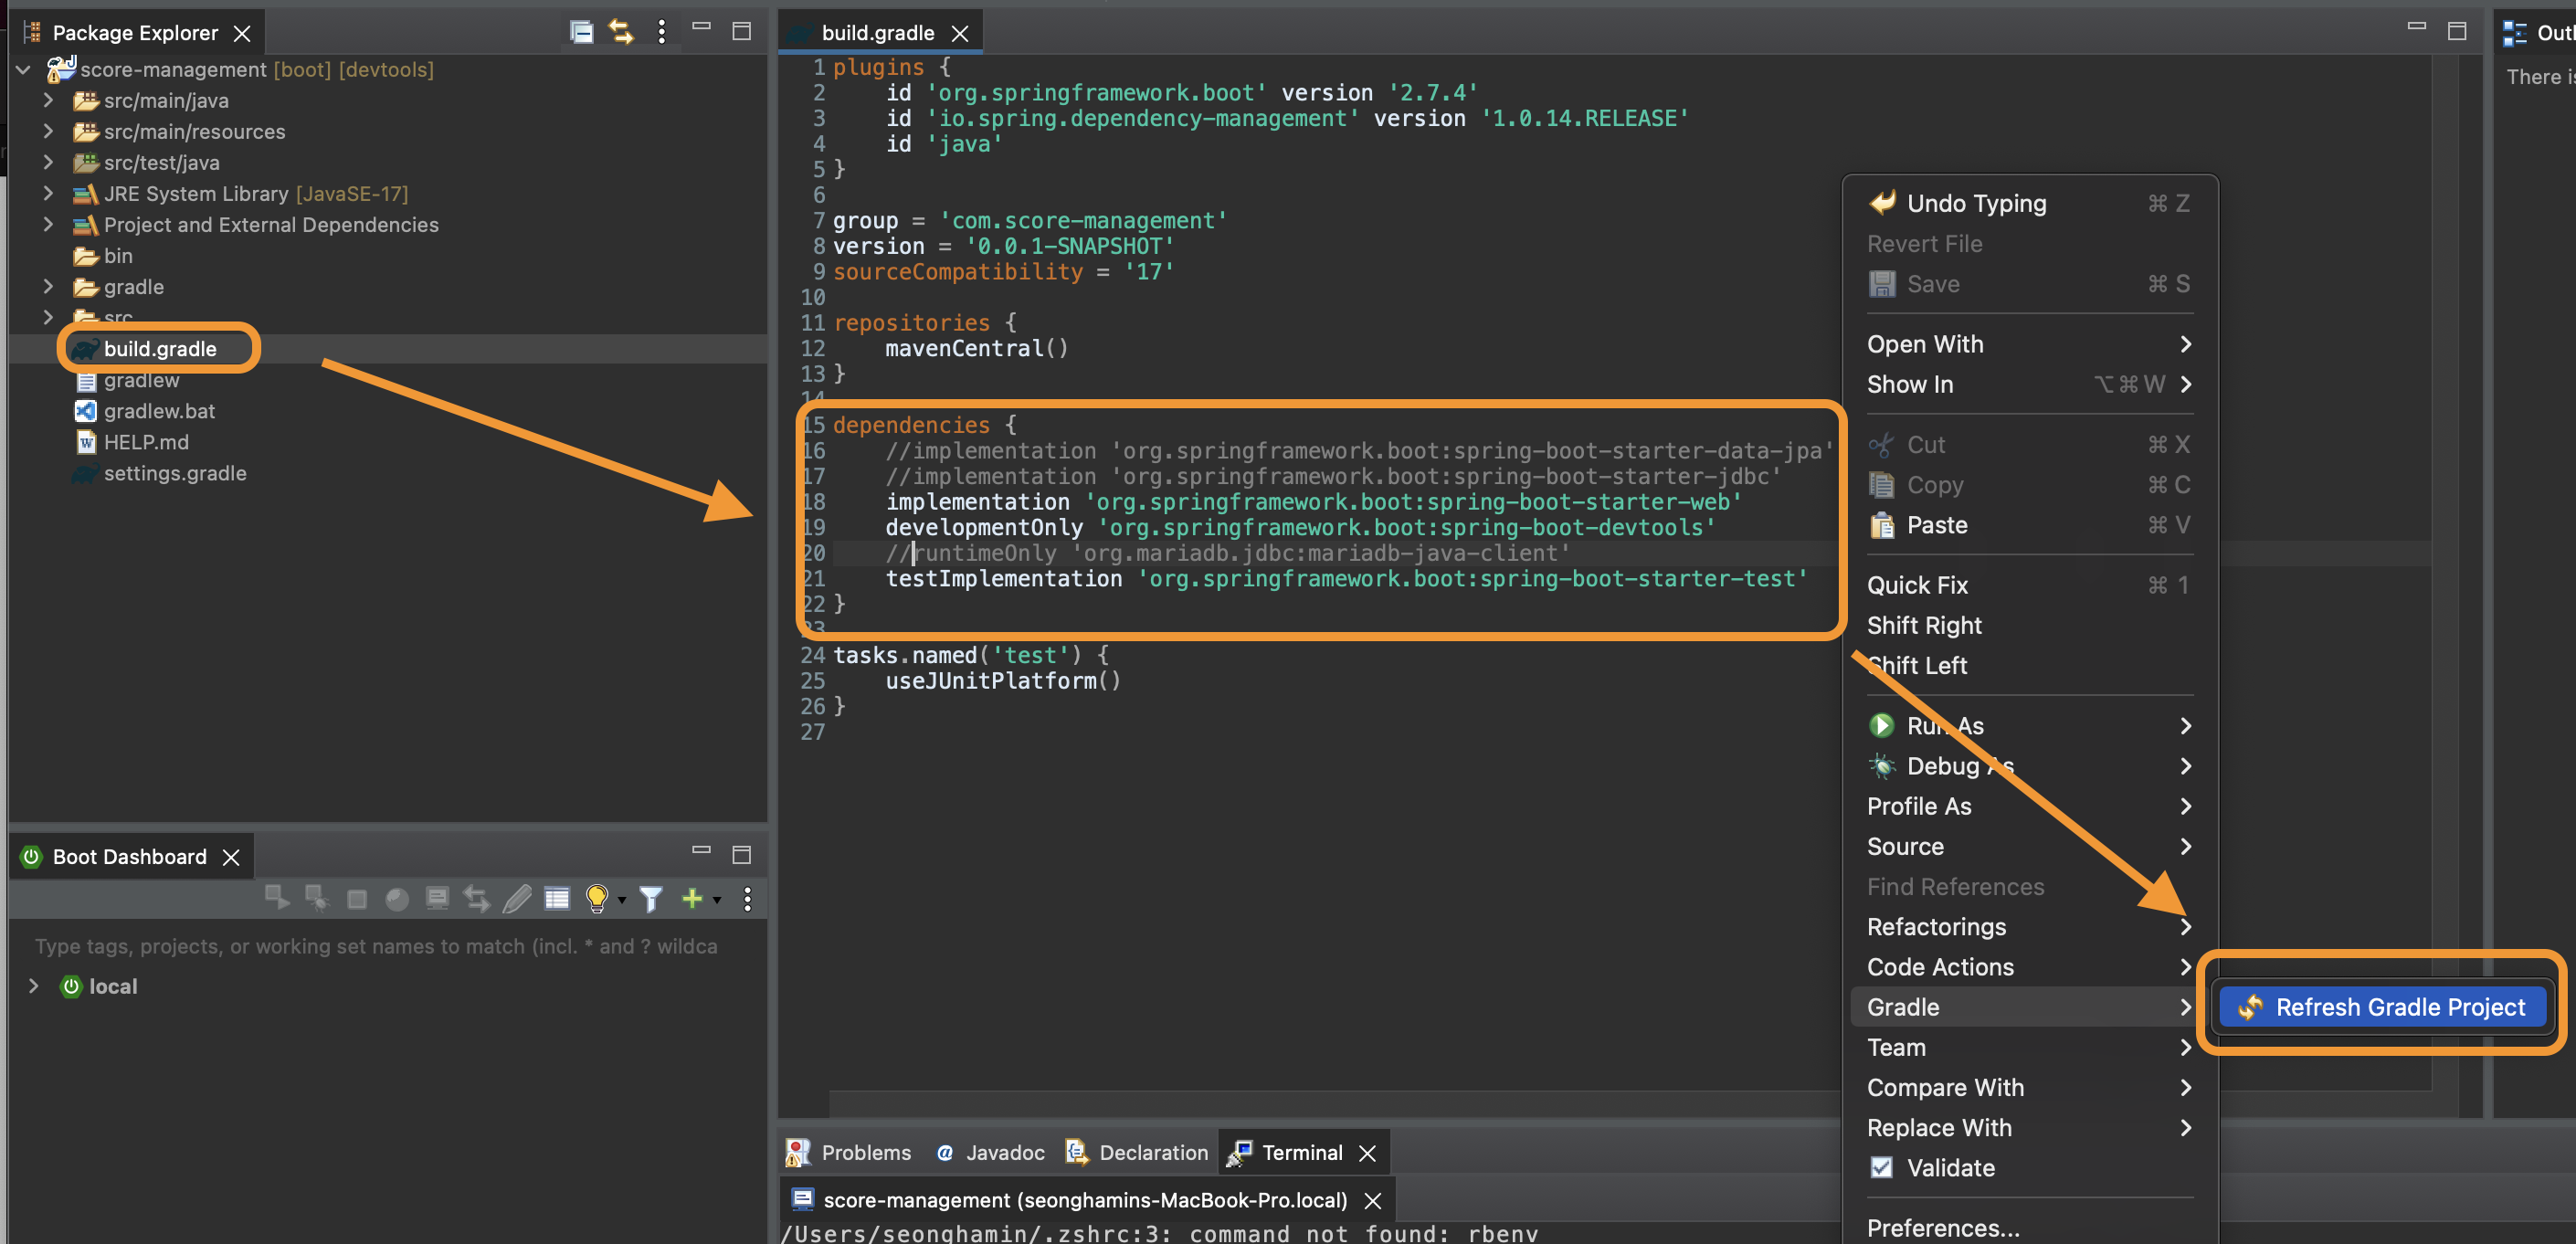
Now folders and files are created. Before running the application, let’s check build.gradle file first.
We haven’t done DB settings yet, so comment out these three lines below.
Don’t forget to do right-click -> Gradle -> Refresh Gradle Project
3-3. Add TestController file
Add new file to the project and name it “TestController”.
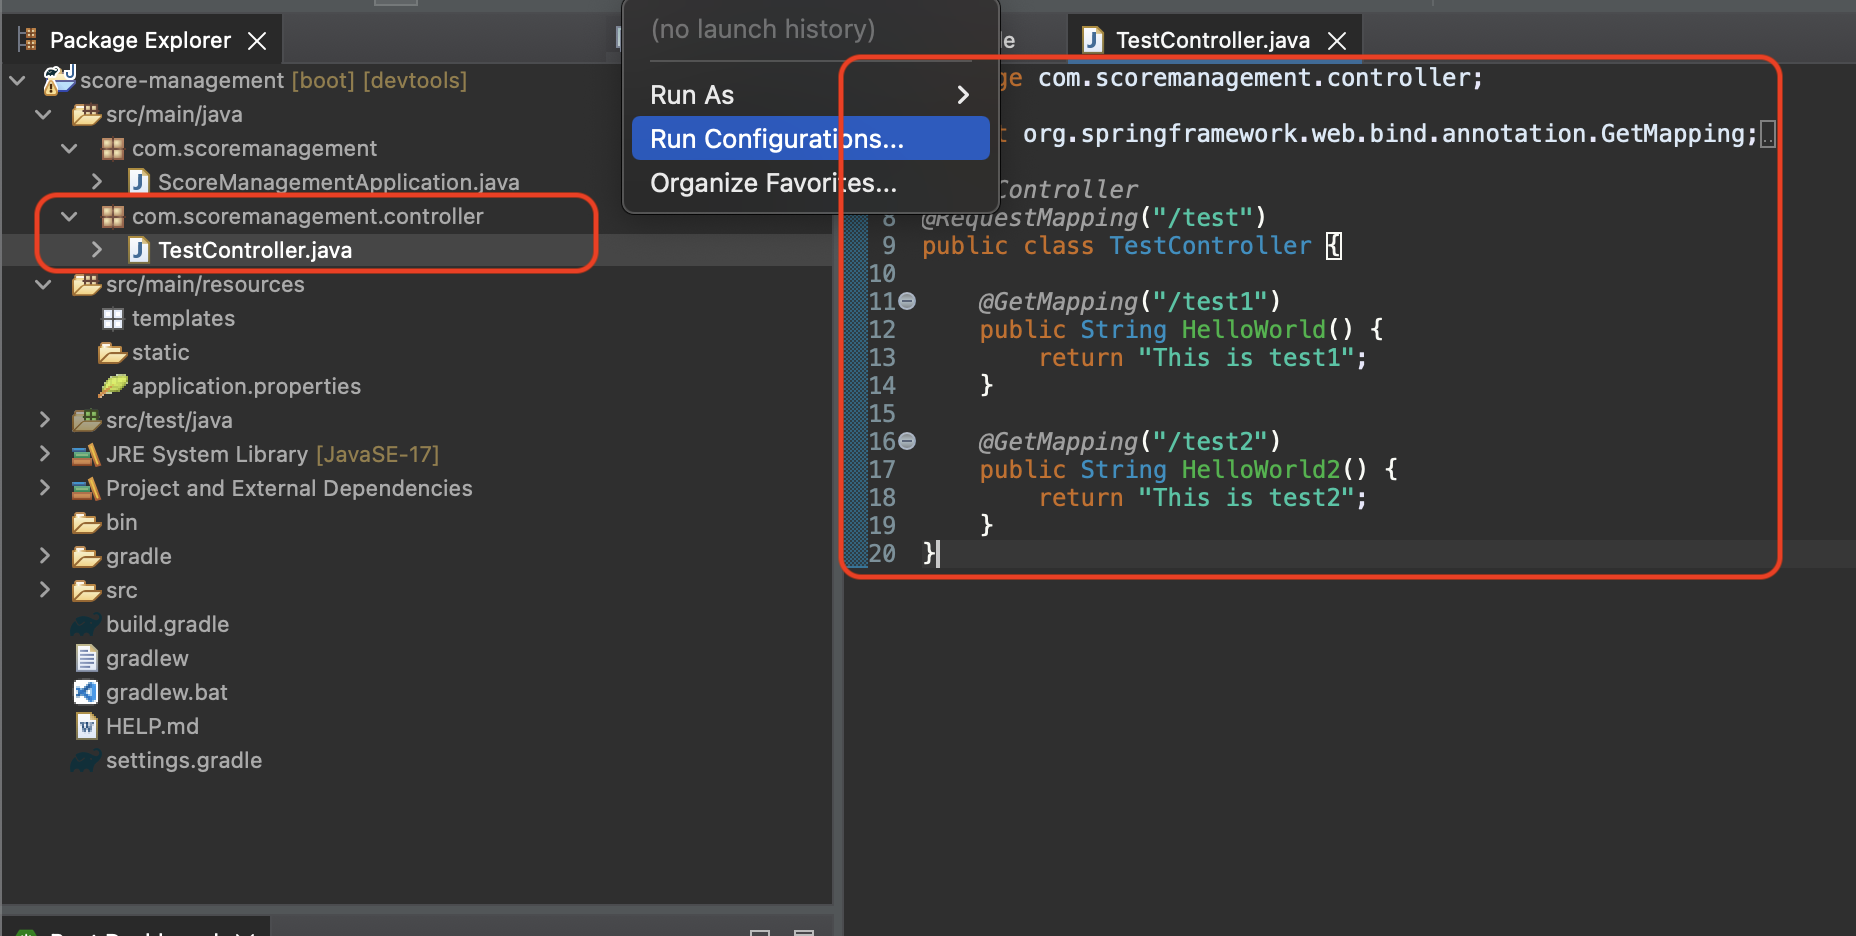
Now all you have to do is just paste the code below.
package com.scoremanagement.demo.controller;

import org.springframework.web.bind.annotation.GetMapping;
import org.springframework.web.bind.annotation.RequestMapping;
import org.springframework.web.bind.annotation.RestController;

@RestController
@RequestMapping("/test")
public class TestController {

	@GetMapping("/test1")
	public String HelloWorld() {
		return "This is test1";
	}

	@GetMapping("/test2")
	public String HelloWorld2() {
		return "This is test2";
	}
}
3-4. Run the Application.
To run the springboot application in a easier way, let’s add a configuration as below.
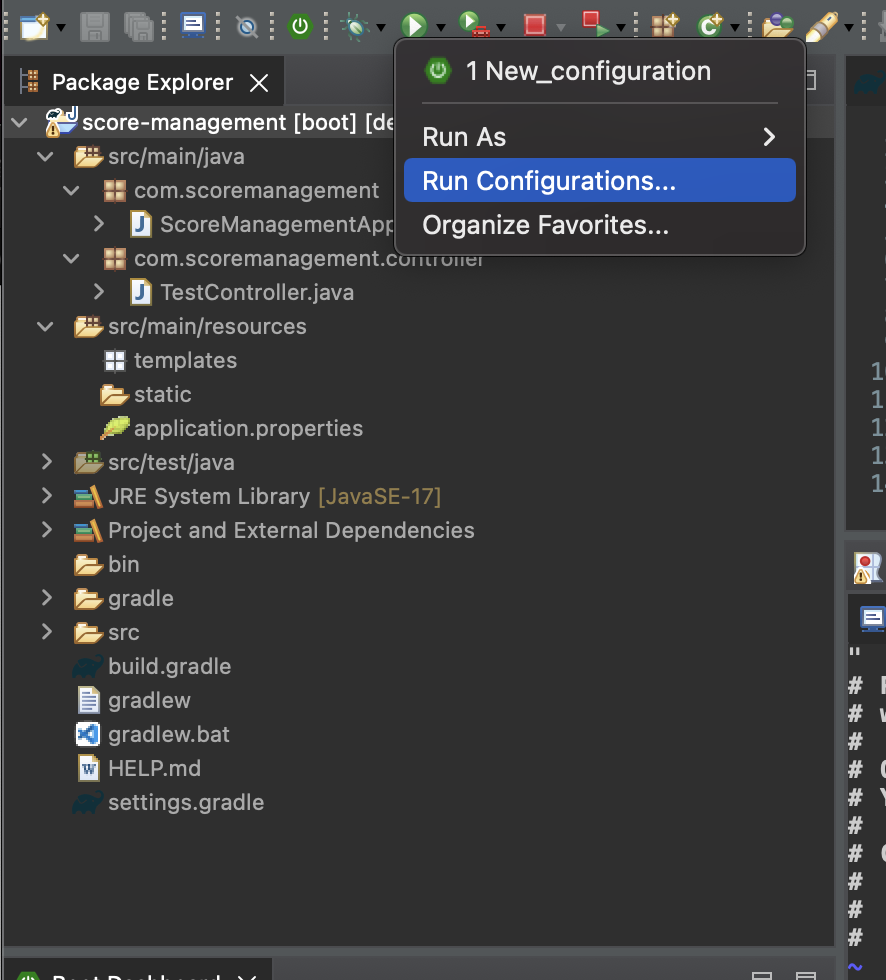
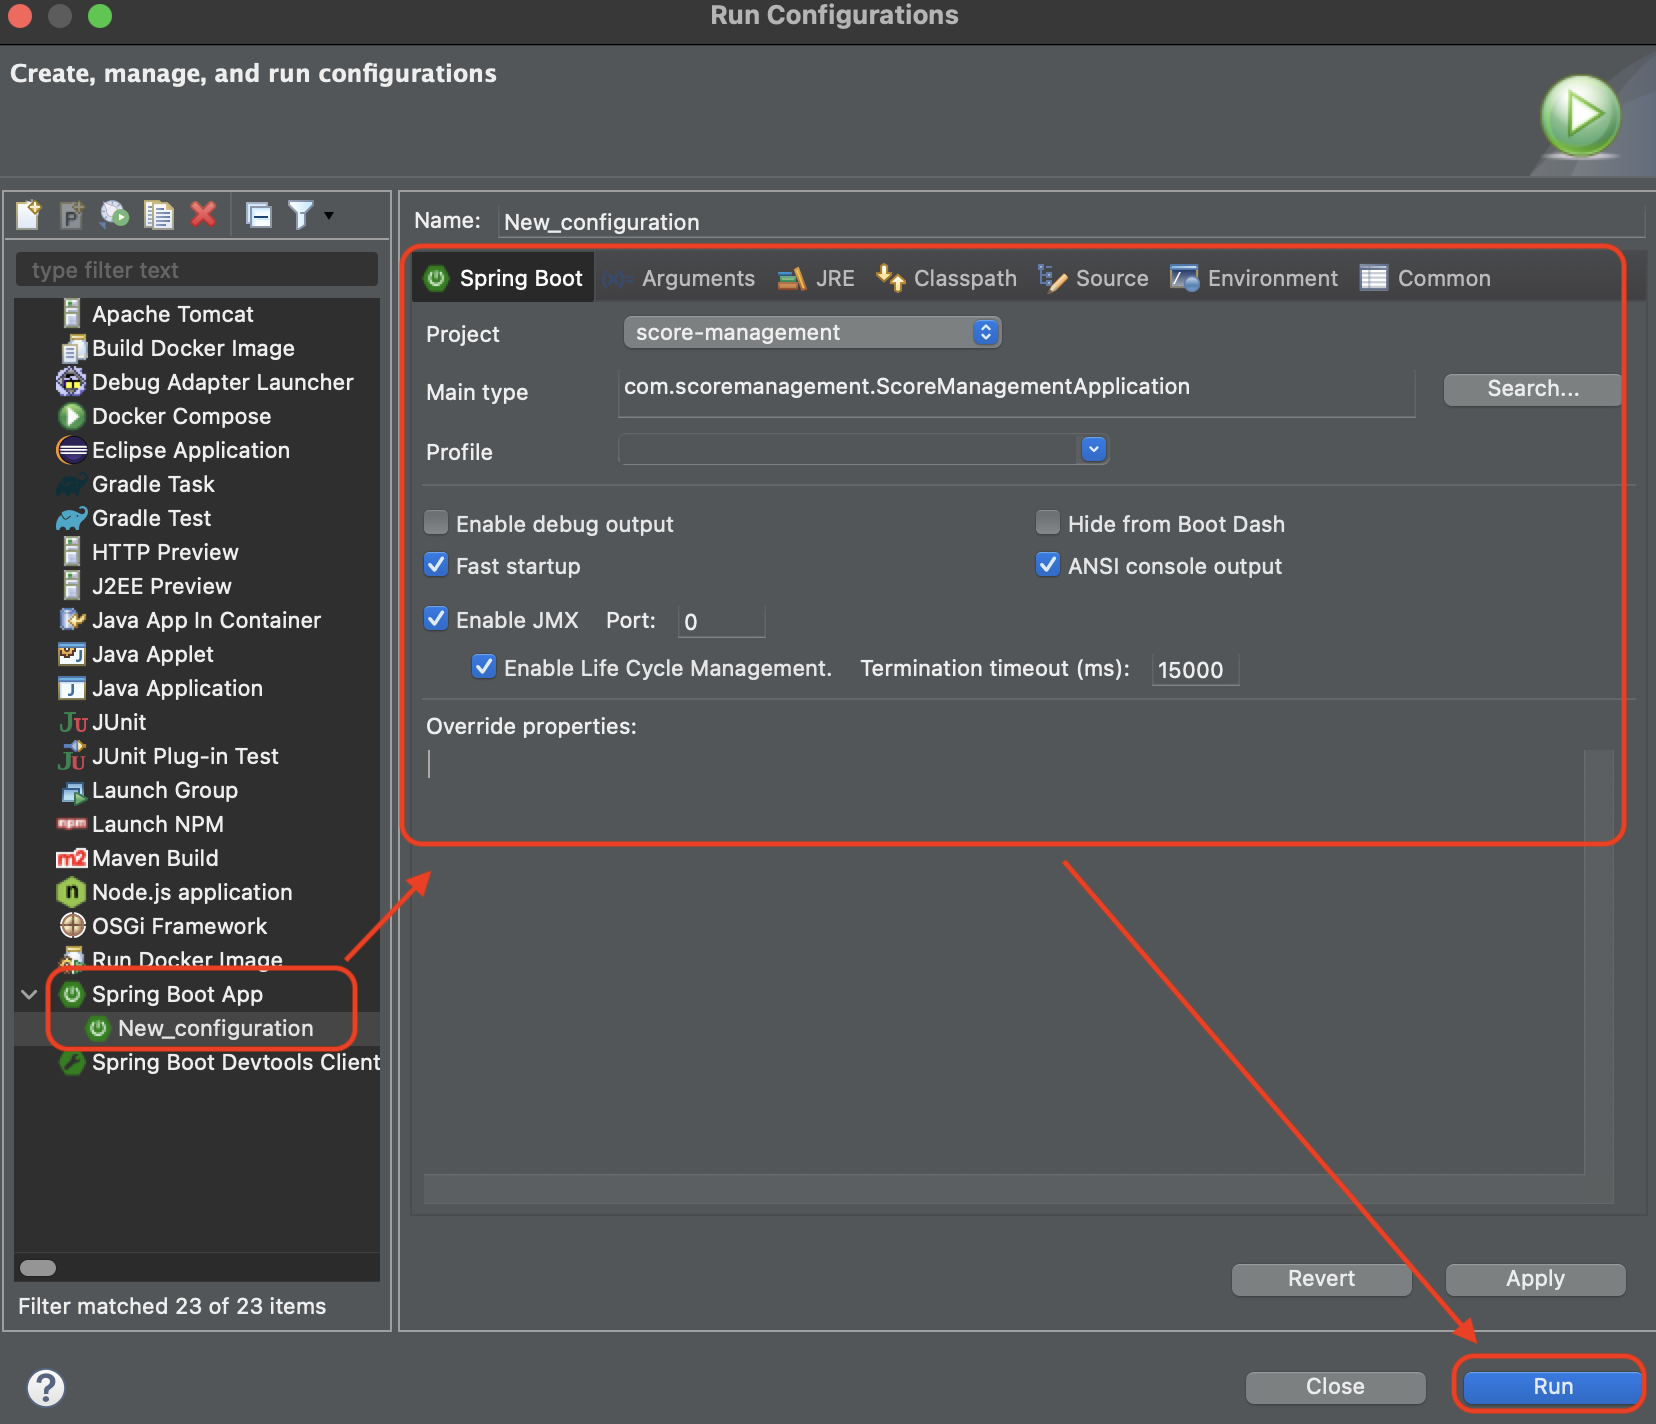
Now when you press the Green button, you will see this!

let’s check with browser. It says that Tomcat started on port 8080.
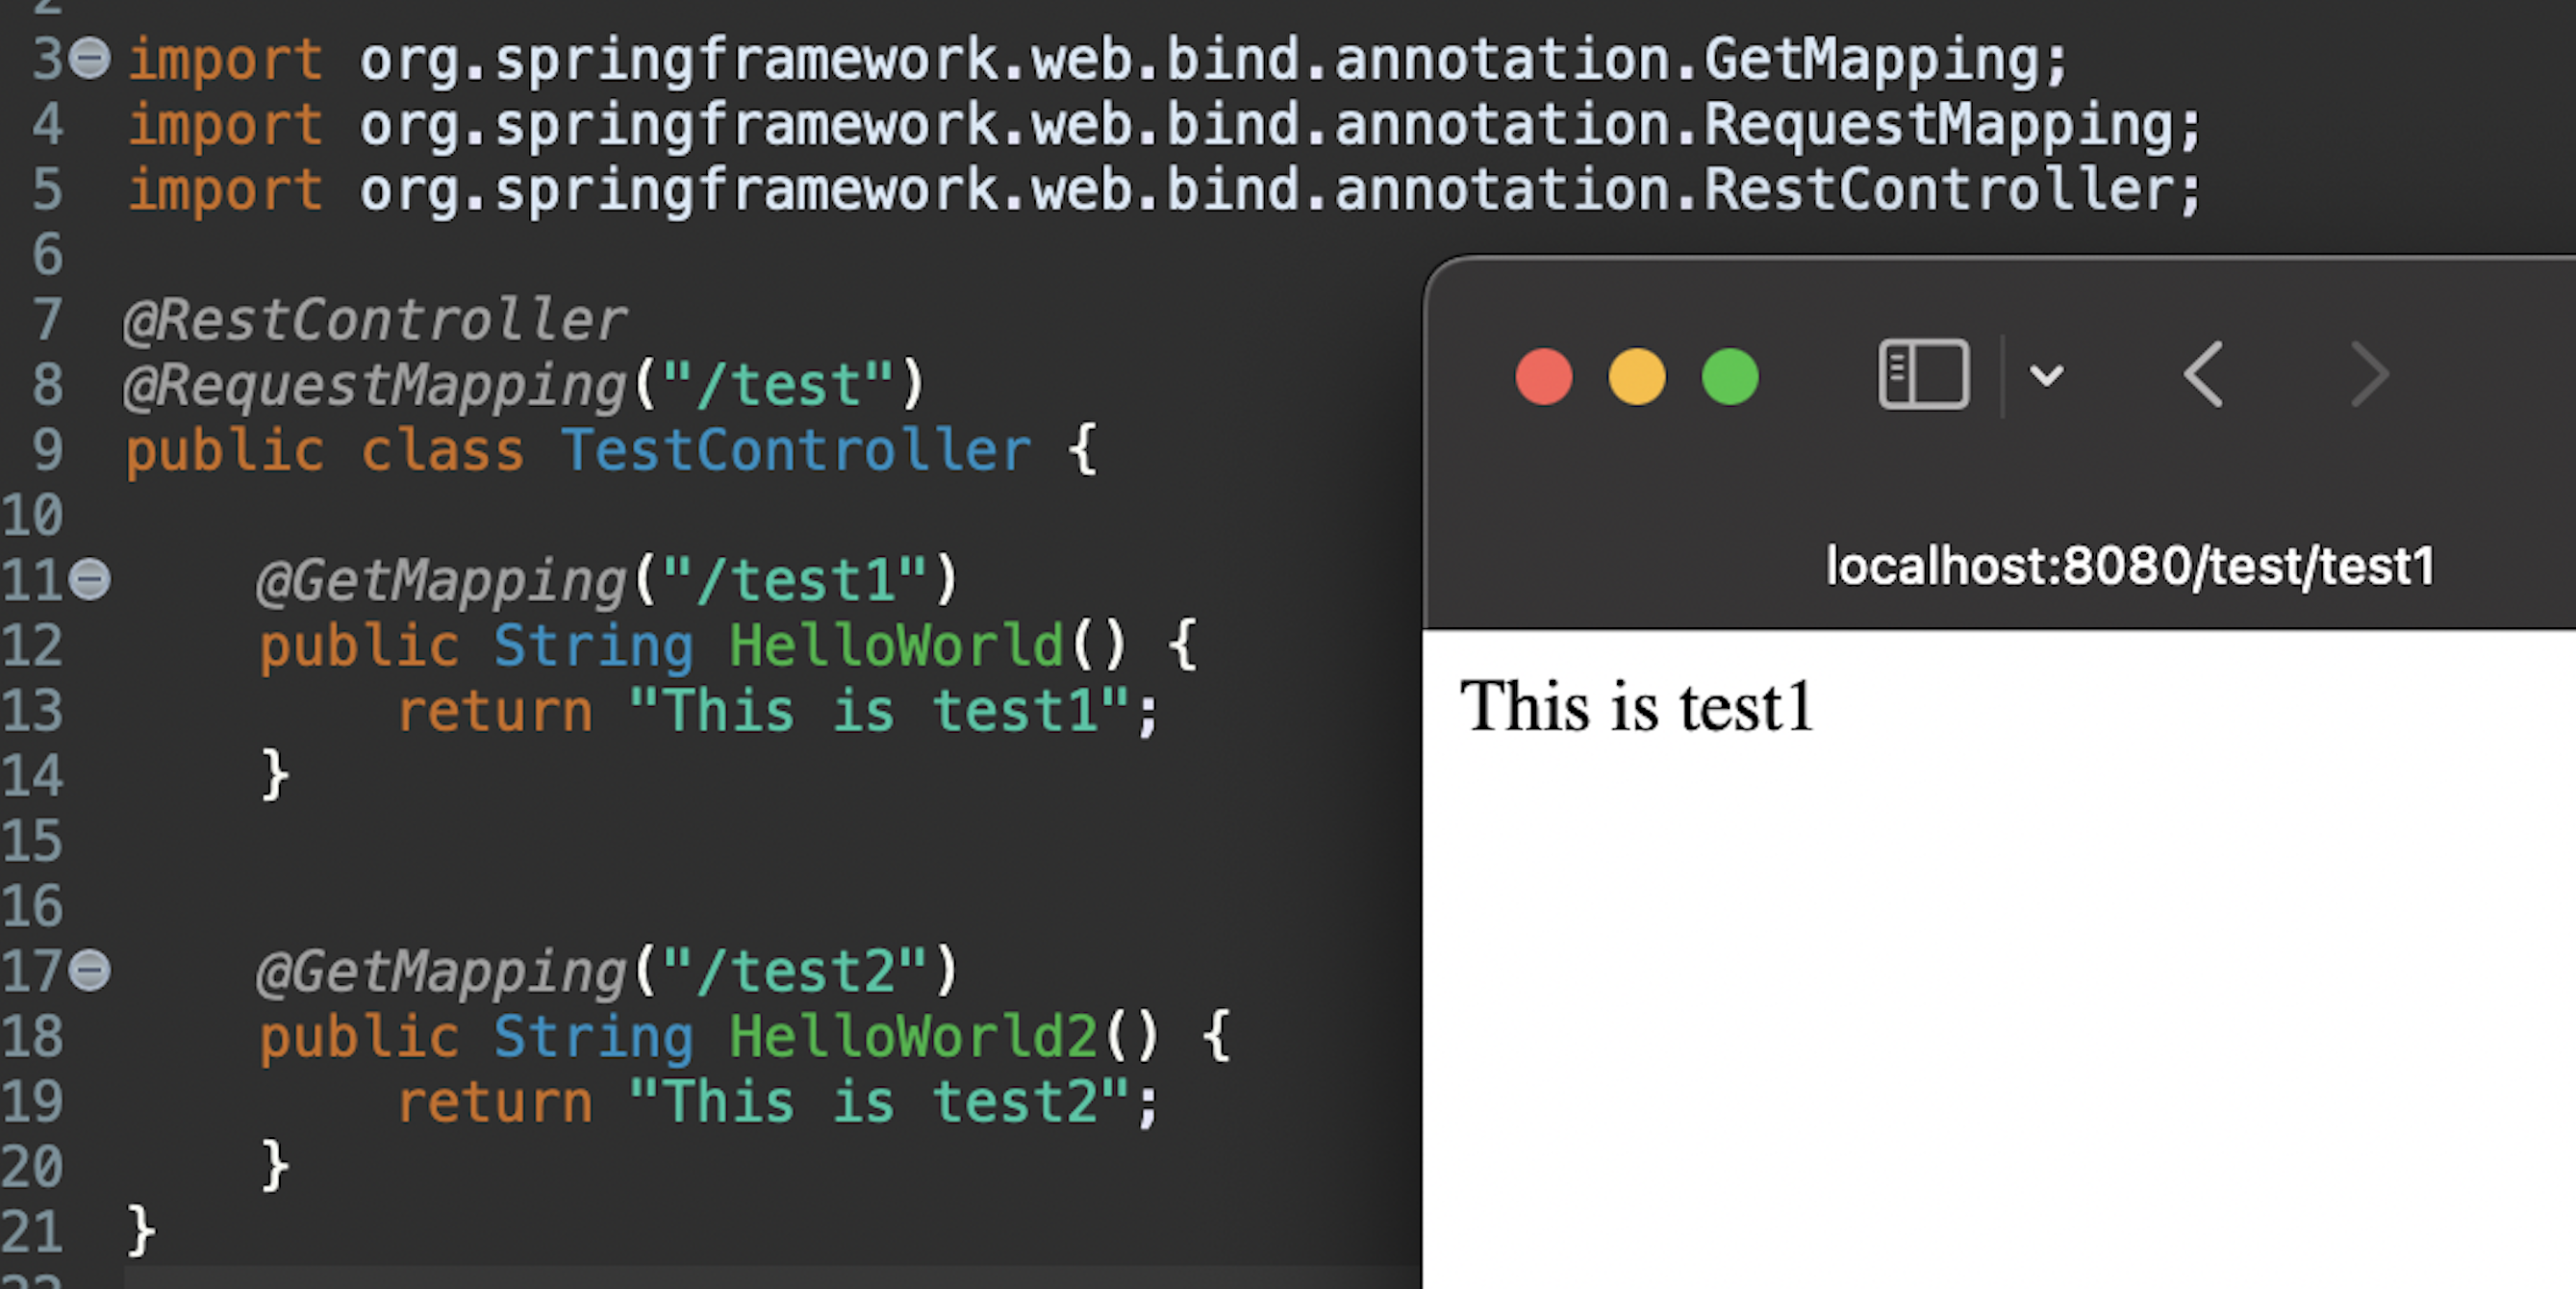
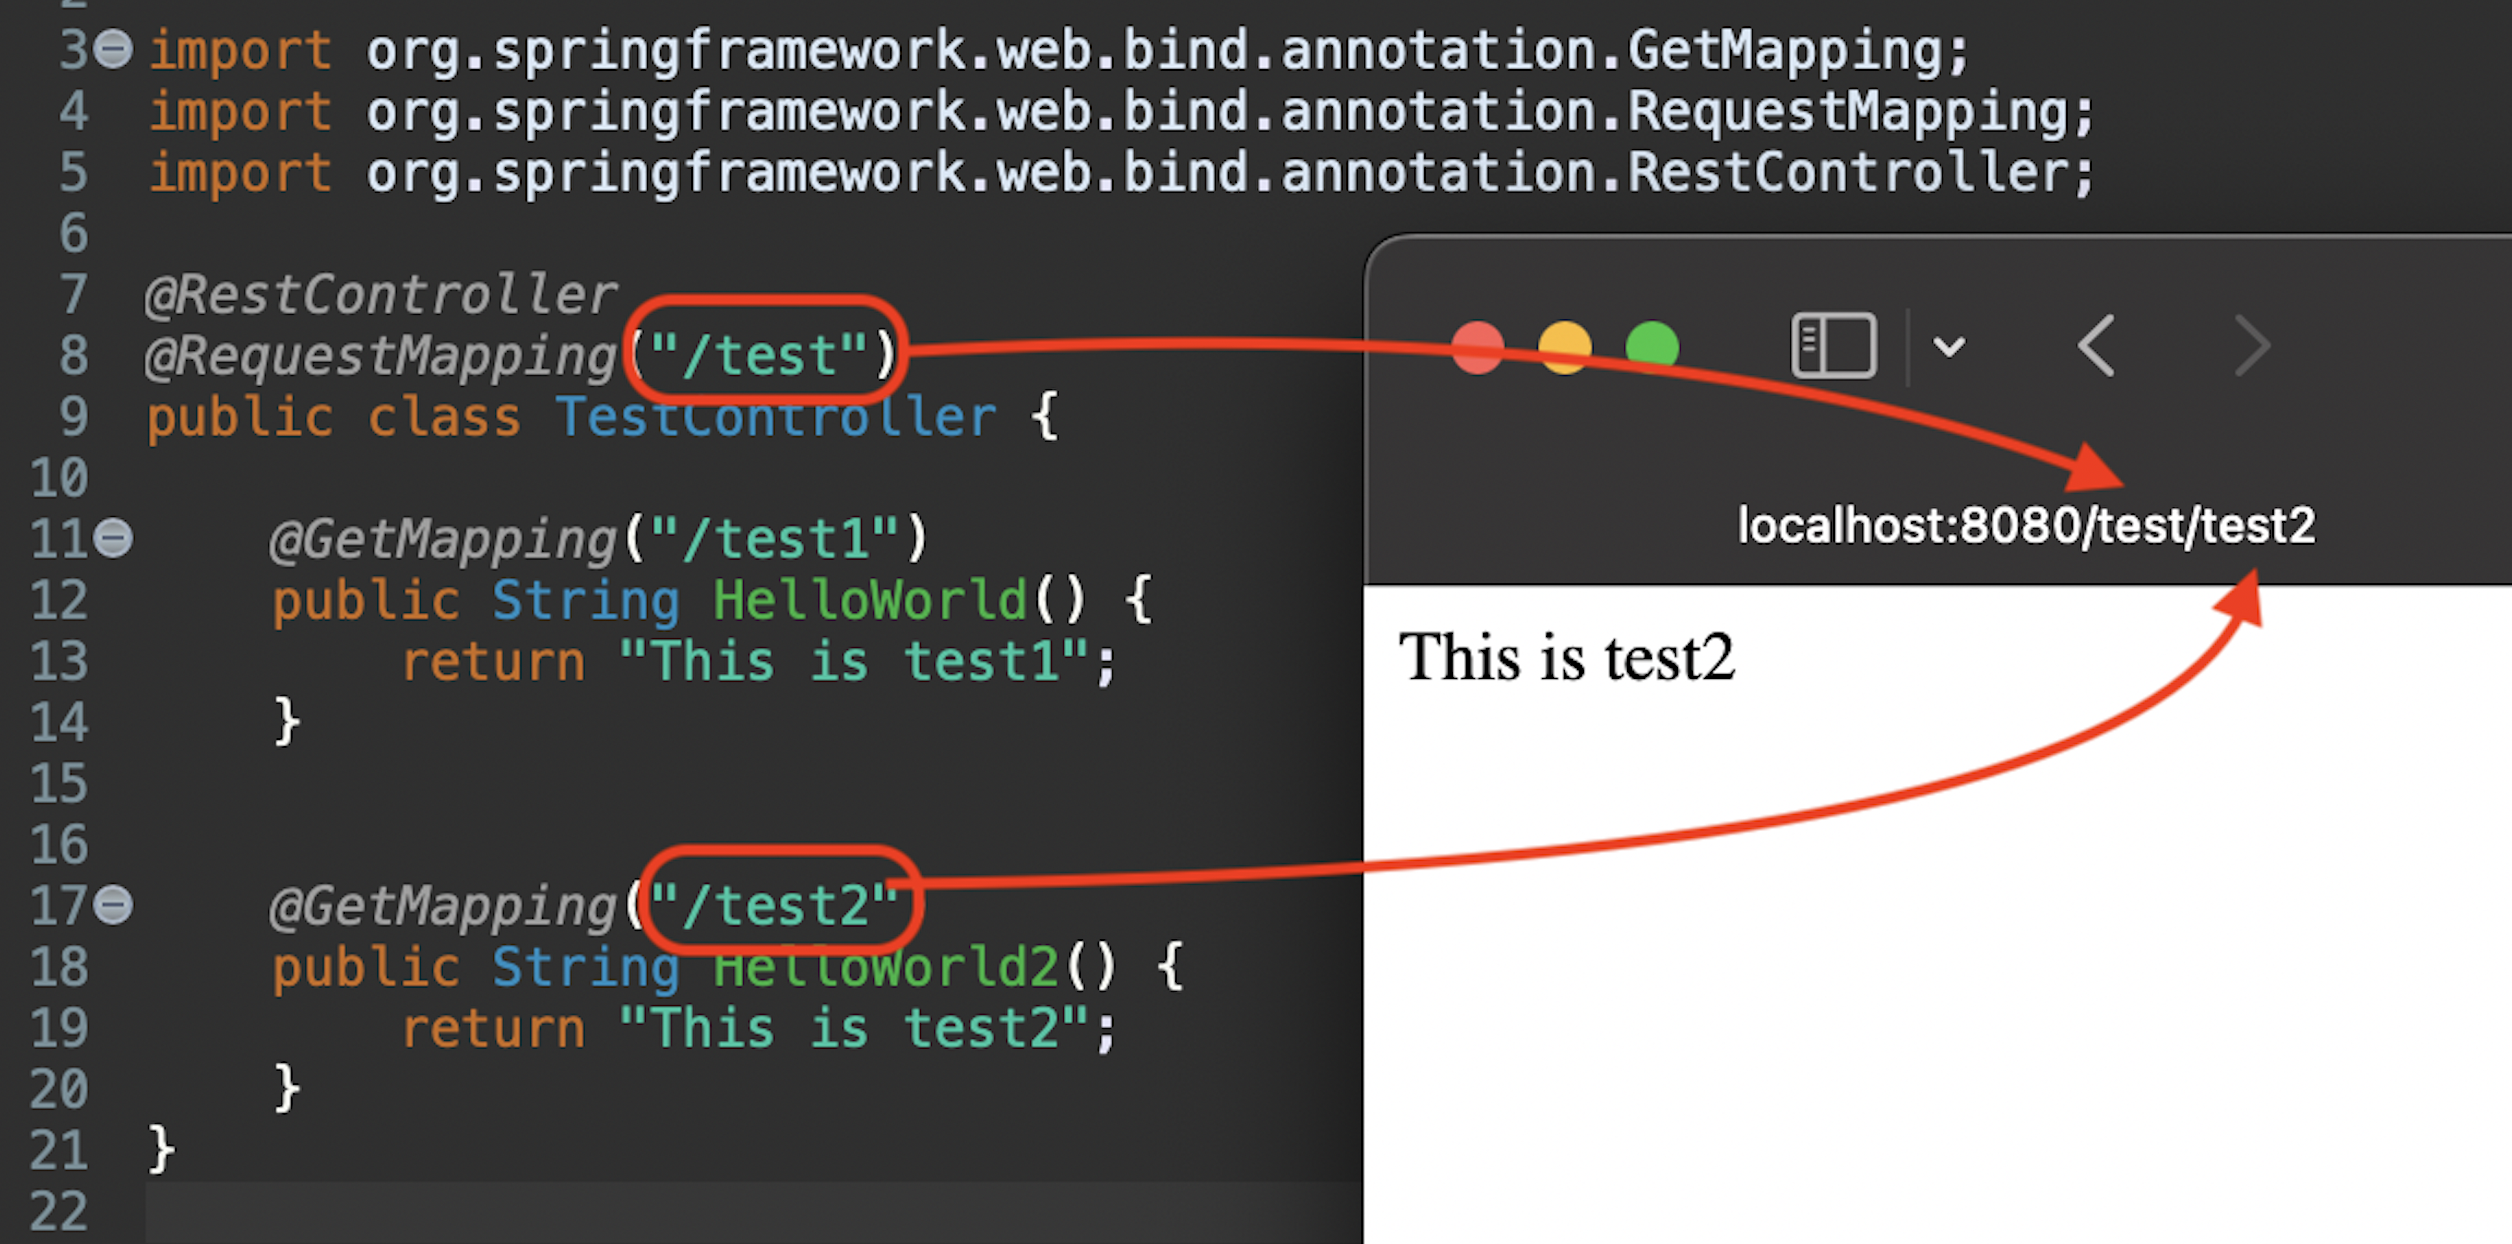
RequestMapping and GetMapping in order are used to map an HTTP request to a method.
For example, if we call localhost:8080/test/test1, it will return “This is test1”.
Likewise, if we call localhost:8080/test/test2, it will return “This is test2”.

Comments